
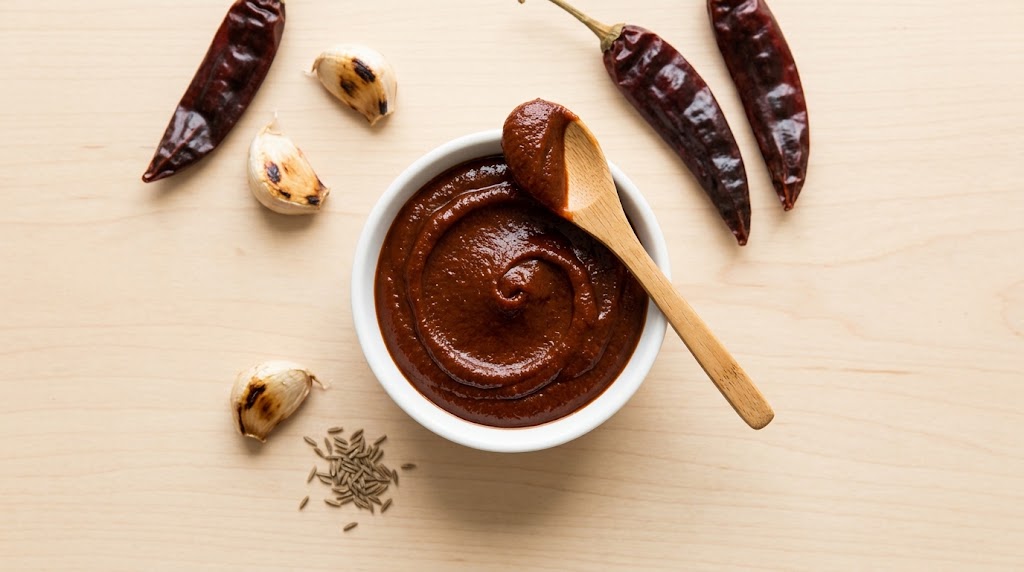
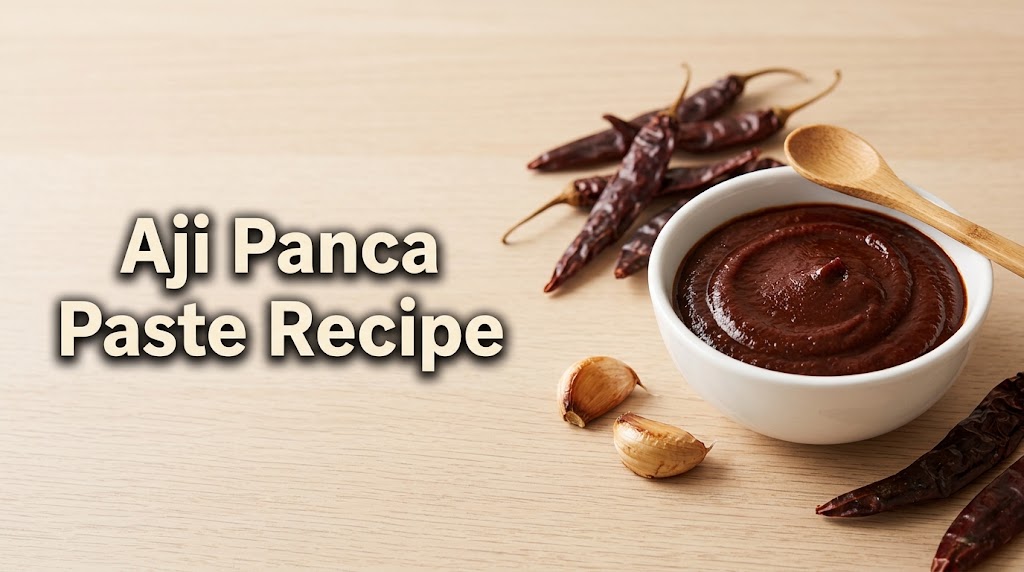
Aji panca paste recipe is a staple in Peruvian kitchens. It is deep red, mildly sweet, and has a soft smoky flavor that makes stews, marinades and rice taste like they cooked all day. The problem is that it can be hard to find, and store-bought jars often cost more than you expect. Making it at home is easier than most people think. It takes about 40 minutes, and most of that is just waiting while the dried chilies soften.
This version uses dried chilies, since that is what most of us can actually buy. I toast the chilies and a few garlic cloves first, then add cumin, lime juice and a little vinegar. Those small steps give the paste more depth and help it keep well in the fridge. Below you will find the full recipe with exact amounts, a few tips, and plenty of ideas for using it.
What Is Aji Panca and How Does It Taste?
Aji panca (say it ah-HEE PAHN-kah) is a chili pepper grown in Peru. Fresh, it ripens from green to a dark, almost burgundy red. Outside Peru, though, you will nearly always find it dried, wrinkled and brownish-black.
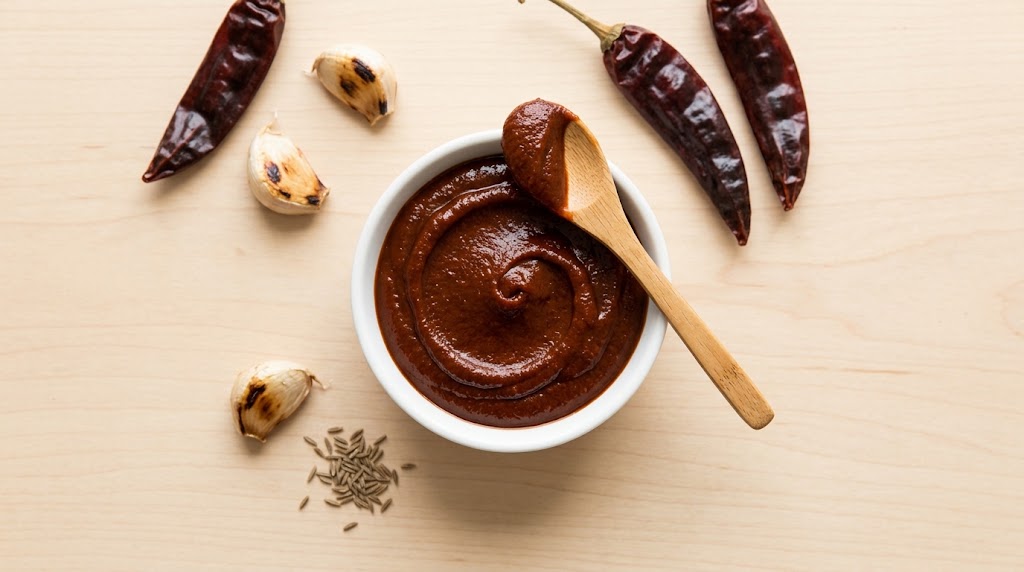
The heat is very mild. It sits around 1,000 to 1,500 Scoville heat units, about the same as an ancho chili. A jalapeño usually starts around 2,500, so this is a chili you buy for flavor, not fire. The taste is sweet and fruity, with a berry-like note and a gentle smokiness at the end. Some people say it reminds them of raisins or dried plums.
That is why Peruvian cooks use it so often. It adds color and depth without making a dish hot, so kids and guests who avoid spice can enjoy it too.
Aji Panca vs Aji Amarillo
These two chilies get mixed up a lot because both show up all over Peruvian cooking. They are quite different, though. If you have tried my aji amarillo sauce, you know that chili tastes bright and sunny. Aji panca is the darker, calmer one.
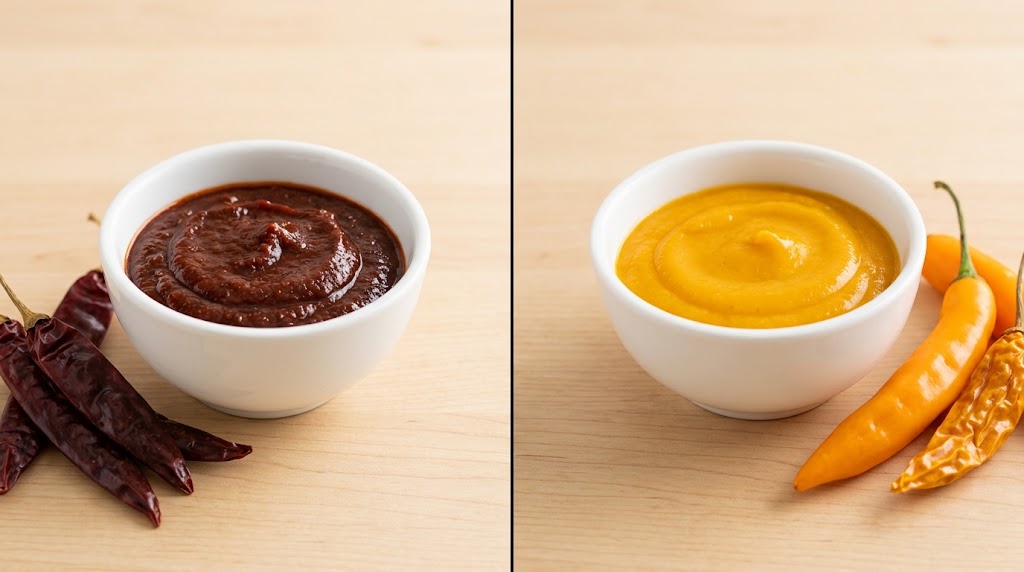
| Aji panca | Aji amarillo | |
|---|---|---|
| Color | Dark red to brown | Bright yellow-orange |
| Heat | Mild (about 1,000 to 1,500 SHU) | Medium (about 30,000 to 50,000 SHU) |
| Taste | Sweet, berry-like, smoky | Fruity, bright, a little floral |
| Common uses | Marinades, stews, grilled meat | Sauces, ceviche, creamy dishes |
A simple way to remember it: aji amarillo is for brightness and heat, aji panca is for depth and color. Many Peruvian cooks keep both, and sometimes use both in the same pot.
Quick Recipe Snapshot
| Prep time | 10 minutes |
| Soaking time | 20 minutes |
| Cook time | 10 minutes |
| Total time | 40 minutes |
| Makes | About 1 cup |
| Heat level | Mild |
| Difficulty | Easy |
| Keeps | 5 days in the fridge, 3 months in the freezer |
Ingredients You Need
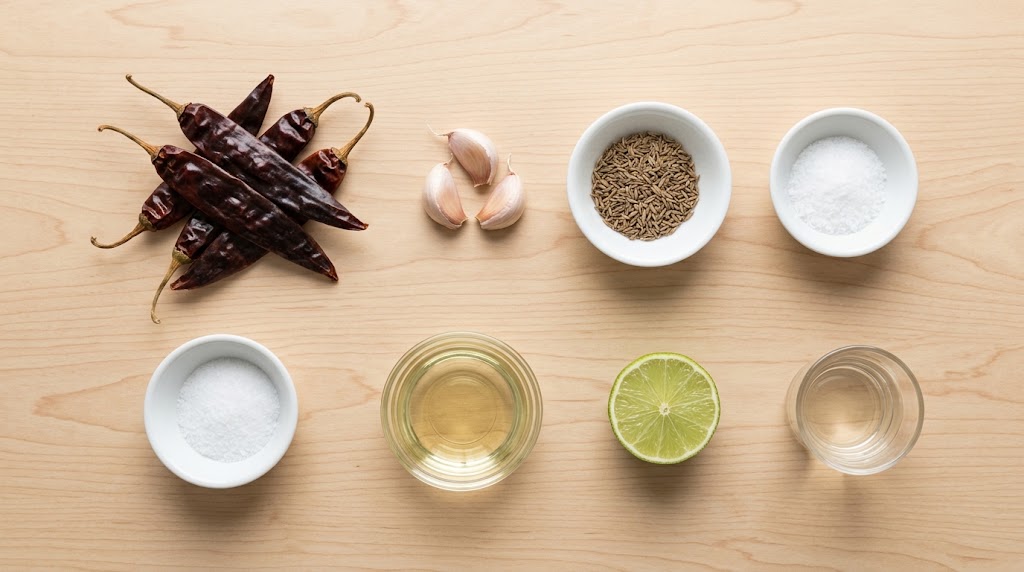
- 8 dried aji panca chilies (about 3.5 oz or 100 g)
- 2 cups hot water, for soaking
- 3 garlic cloves, left in their skins
- 1/2 teaspoon cumin seeds (or 1/2 teaspoon ground cumin)
- 2 tablespoons vegetable oil, plus 1 teaspoon extra for the top of the jar
- 1 tablespoon fresh lime juice
- 2 teaspoons white vinegar
- 1/2 teaspoon salt
- About 1/4 cup of the chili soaking water, for blending
Look for dried aji panca in Latin grocery stores or from online spice sellers. Good chilies are soft and bendy, not dry and brittle, and they smell sweet and slightly fruity. If they crack when you bend them, they are too old.
What makes this recipe different: most recipes just blend soaked chilies with oil. Here the garlic is toasted in its skin until soft and sweet, the cumin is toasted, and a little lime and vinegar are added at the end. The vinegar and lime brighten the flavor and also help the paste last a bit longer. A thin layer of oil on top finishes the job.
How to Make Aji Panca Paste recipe Step by Step
1. Clean and open the chilies. Wipe each chili with a damp cloth. Snip off the stems, slit them open lengthwise, and shake out the seeds. Pull out any thick veins you see. Seeds can make the paste taste bitter, so it is worth the extra minute.
2. Toast the chilies. Heat a dry skillet over medium-low heat. Press the chilies flat in the pan for 15 to 20 seconds per side. They should smell sweet and a little smoky and turn slightly darker. Do not walk away. Chilies burn fast, and burnt chilies make the whole batch bitter. If you smell something sharp or acrid, throw that chili out and start with a fresh one.
3. Soak them. Put the toasted chilies in a heatproof bowl and pour in 2 cups of just-boiled water. Set a small plate on top to keep them under the water. Let them soak for 20 minutes until soft.
4. Toast the garlic and cumin. While the chilies soak, put the unpeeled garlic in the same skillet over medium heat. Turn it every minute or so for 5 to 6 minutes, until the skins have dark spots and the cloves feel soft. In the last 30 seconds, add the cumin seeds and shake the pan. Let the garlic cool for a minute, then peel it.
5. Blend. Drain the chilies, but keep the soaking water. Taste a drop of it. If it is bitter, use plain water for blending instead. Add the chilies, garlic, cumin, oil, lime juice, vinegar, salt and 1/4 cup of the water to a blender or food processor. Blend for a minute or two, stopping to scrape down the sides. If it is too thick to move, add more water one tablespoon at a time. You want a thick paste, close to the texture of tomato paste.
6. Taste and adjust. Add a pinch more salt or a few drops of lime if it needs it. The flavor should be sweet, a little smoky, and well rounded.
7. Jar it and let it rest. Spoon the paste into a clean jar and press it down gently. Pour the extra teaspoon of oil over the top. Refrigerate overnight if you can. The flavor gets deeper and smoother after a night in the fridge.
Tips for the Best Results
- Watch the toasting. This is the step where most batches go wrong. Low heat and short times are safer than high heat.
- Taste the soaking water. If it is sweet and fruity, use it. If it tastes bitter, skip it.
- Go smooth for sauces, rustic for rubs. A blender gives a very smooth paste. A food processor leaves it a little coarse, which is nice on meat.
- Do not add too much water. A thin paste has less flavor and spoils faster.
- Use a clean spoon every time. Dipping a used spoon into the jar is the quickest way to shorten its life.
- Wash your hands after handling the chilies. Aji panca is mild, but you do not want it near your eyes.
Easy Ways to Change the Recipe
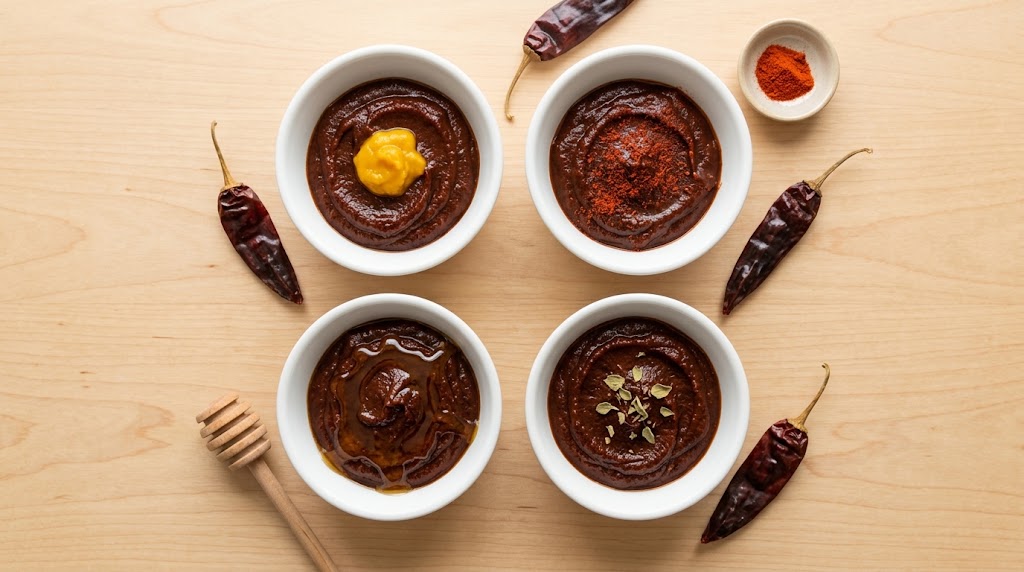
- Want more heat? Stir in a spoonful of aji amarillo paste or a pinch of cayenne.
- Want it smokier? Add 1/2 teaspoon of smoked paprika.
- Want it sweeter? If your chilies taste a bit sharp, add 1 teaspoon of honey or brown sugar.
- Want more herbs? Blend in 1 teaspoon of dried oregano. It is common in Peruvian marinades.
- Found fresh aji panca? Lucky you. Skip the soaking. Remove the seeds and stems, boil the chilies for 3 minutes, then blend as in step 5.
The recipe is already vegan, so there is nothing to swap there.
How to Use Aji Panca Paste in Peruvian Cooking
Once you have a jar in the fridge, you will find yourself reaching for it often. Here are the ways I use it most.
Anticuchos and grilled meat. Anticuchos are Peruvian grilled skewers. For every pound of beef or chicken, mix 3 tablespoons of paste with 1 tablespoon of vinegar, a minced garlic clove, a pinch of cumin and a splash of oil. Let the meat sit in the mix for at least 2 hours, or overnight. Grill it hot and fast.
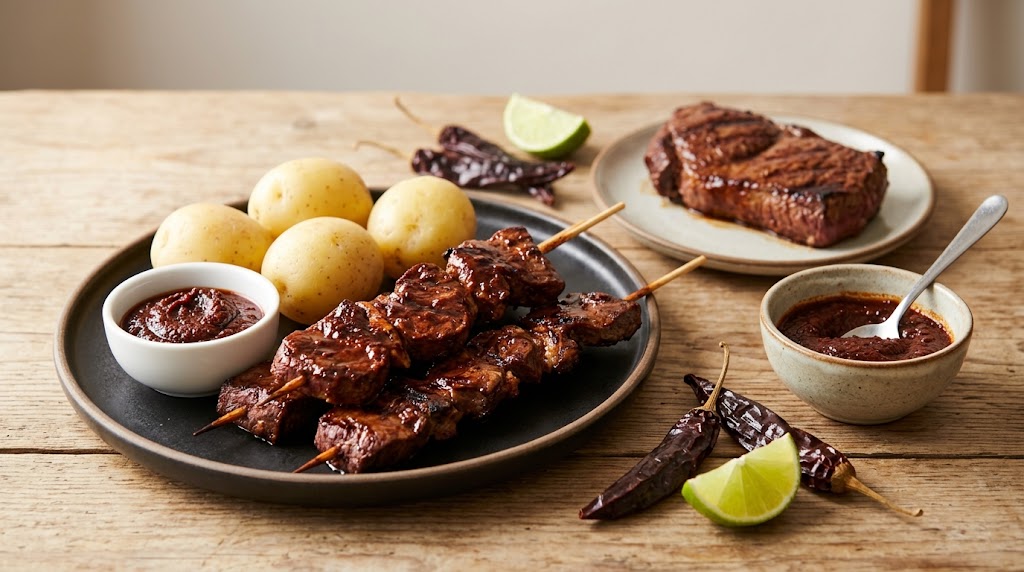
Steak and chicken marinade. Thin 2 tablespoons of paste with 1 tablespoon of oil and a squeeze of lime. Rub it over the meat and leave it for 30 minutes or up to a night. It works well with the steak in Bistec a lo Pobre, and a spoonful in the marinade for Lomo Saltado Tacos adds a deeper color.
Stews and rice. Many Peruvian dishes start with onion, garlic and a spoonful of chili paste cooked in oil. Add a tablespoon of aji panca at that stage and let it sizzle for a minute before adding anything else. You can also stir a spoonful into the beans for Tacu Tacu.
Eggs and tacos. Spread a little on toast under a fried egg, or loosen a spoonful with water and drizzle it over tacos.
A quick dip. Mix equal parts paste and mayonnaise or sour cream. It is great with fries and roasted potatoes.
Roasted vegetables. Toss 1 tablespoon of paste with a little oil and coat potatoes, carrots or cauliflower before roasting.
How to Store Aji Panca Paste
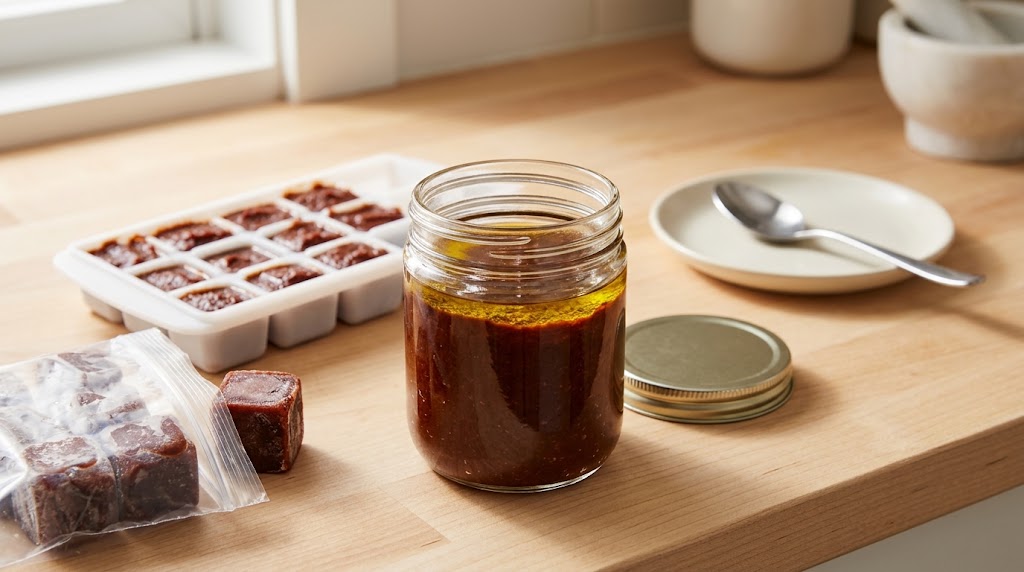
Keep the paste in a clean, airtight jar in the fridge with a thin layer of oil on top. It stays good for up to 5 days. Because it contains garlic and oil, do not leave it out on the counter for hours.
For longer storage, freeze it. Spoon the paste into an ice cube tray, freeze until solid, then move the cubes to a freezer bag. One cube is about 1 tablespoon, which makes it easy to grab just what you need. Frozen cubes keep well for about 3 months.
If the paste smells sour, looks fuzzy, or seems fizzy, throw it away.
What Can You Use Instead of Aji Panca Paste?
If you cannot find dried aji panca, you have a few options:
- Ancho chili paste: The closest match. It is mild, sweet and a bit like raisins. Use the same amount.
- Store-bought aji panca paste: Swap it 1 to 1 in any recipe here.
- Guajillo chilies plus smoked paprika: Soak and blend guajillos, then add a pinch of smoked paprika. It is a little tangier, but it works.
- Chipotle paste: Use half the amount. It is hotter and smokier, so start small.
Frequently Asked Questions
Is aji panca paste spicy? No. It is one of the mildest Peruvian chilies. You get sweet, smoky flavor with very little heat.
Where can I buy dried aji panca? Try Latin or South American grocery stores. Many online spice shops also sell them.
How is it different from chipotle paste? Chipotle is a smoked jalapeño, so it is hotter and much smokier. Aji panca is sweeter and fruitier.
Why does my paste taste bitter? Usually the chilies were toasted too long, or the seeds were left in. Next time toast for less time and remove every seed.
Can I make it without vinegar? Yes, but the flavor will be a little flatter. If you skip it, I would use the paste within 3 days.
Can I use the paste straight away? Yes, but it tastes better after resting overnight.
Final Thoughts
A jar of homemade aji panca paste is one of the most useful things you can keep in the fridge. It takes about 40 minutes, uses simple ingredients, and makes everyday meals taste a lot more interesting. Start with a small batch, see how you like the flavor, and then try it on steak, in a stew, or with your morning eggs. If you try the recipe, leave a comment below and tell me how it turned out.
